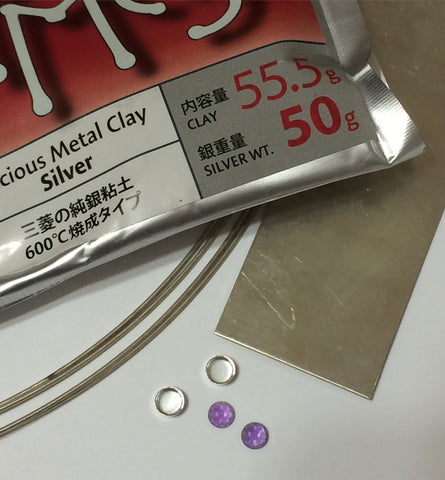
Here it begins. Can you see the jewelry that will become?
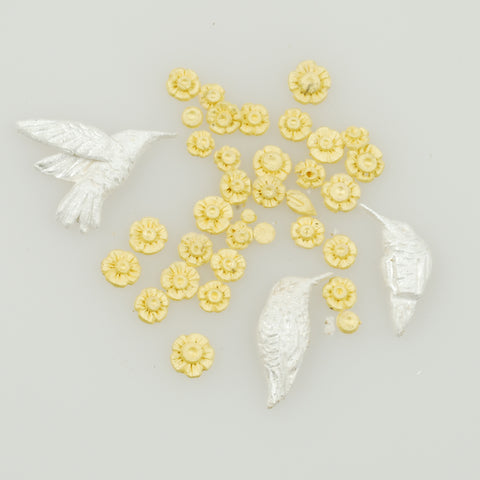
That package of fine silver or 22k gold metal clay will transform into a collection of tiny components, formed painstakingly by hand, one at a time: leaves, flowers, birds and bees, small inspiration quotes, whatever my muse calls for at the moment. After drying and sanding and detailing, those bits of clay will be popped into the kiln to bake at 1650ºF for a few hours, to emerge as pure metal, even smaller than before due to shrinkage during this almost alchemical process.
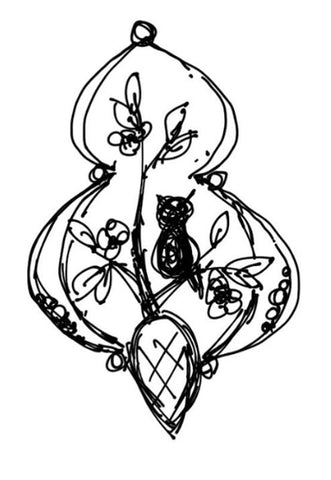
With my sketchpad, I'll brainstorm ideas for jewelry, experimenting with general shape and imagery ideas.
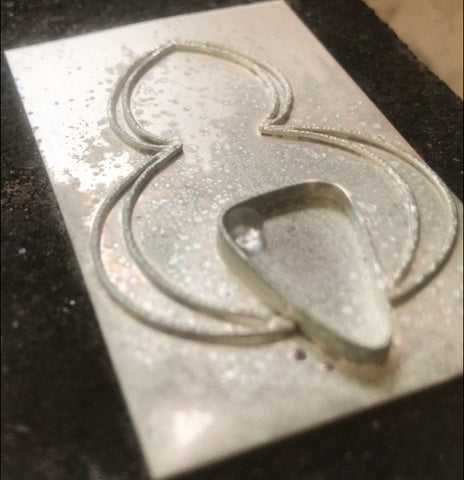
At the jeweler's bench, the silver wire will be delicately cut and formed into a frame or rim for the design, then backed with a sheet of silver.
That's when the magic begins...my favorite part.
I pull out the boxes of components, all those little bits that I lovingly worked over before, and begin to push them around the frame until the image emerges. It may be a treetop scene of a bird on a branch, or a hummer floating below a dangling fuchsia, or a simple sprig of leaves and berries. The exact position of each element is critical to the overall emotion of the finished work.
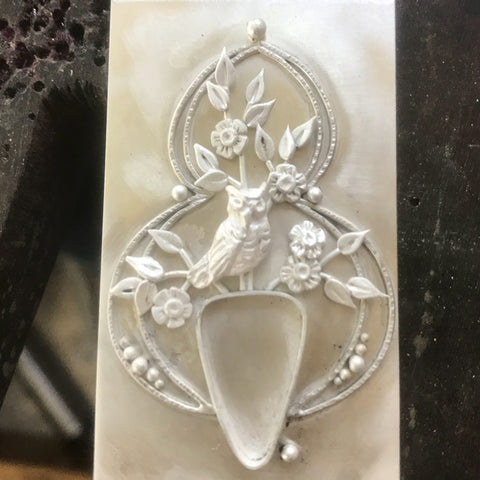
It's time for pure technical skill and long labor.
I tack and fuse everything together, using accumulated hours of practice to bring the temperature of the metal up to near (but not too near) the melting point. I pull out my saw or shears and delicately trim away the extra metal, then file and sand the edges to perfectly match that original frame.
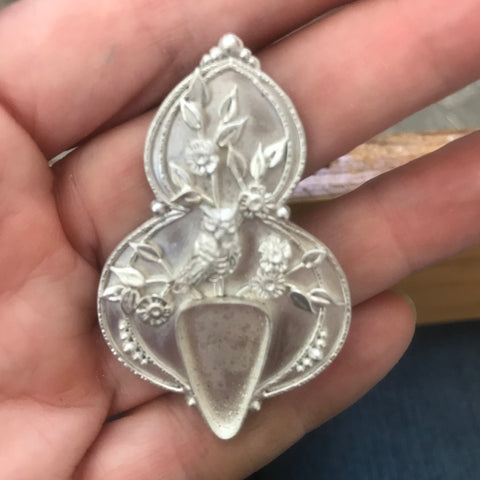
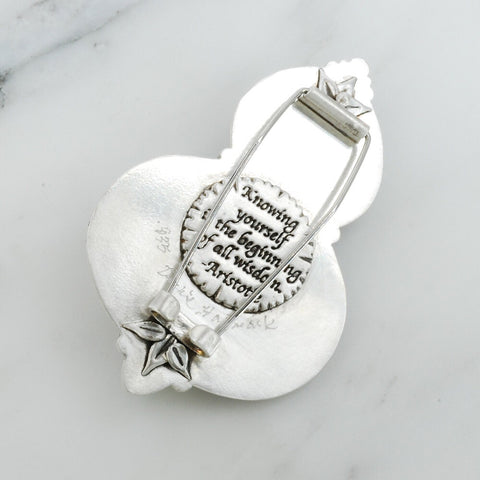
Then comes the backside, just as important to me as the front. If there's room, I'll often put in extra details on the reverse: more components for little flourishes and maybe a quotation that seems tied to the image.
Sanding and polishing begin, through ever finer grit after grit. Dark patina to bring out the details, stone setting, pin stem or bail/chain or ear wires, heat treatment, and my engraved signature all take time at the very end to produce a quality work that I'm proud to show.
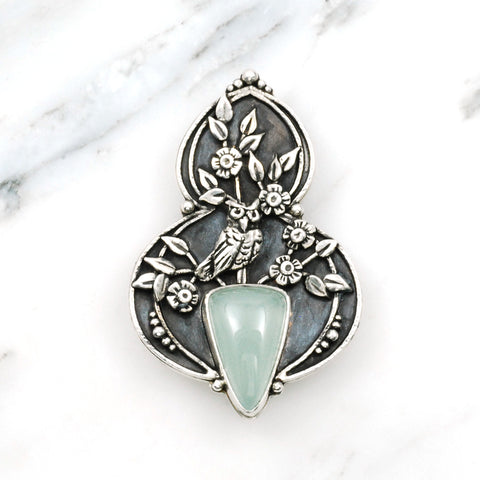
And then the photography and descriptions, so that the world outside my studio can see the finished work, and perhaps if it speaks to them, add it to their collection.

Yes, Fatima, flux can temporarily tack things together. Sometimes I will fuse small bits together before they go onto the full piece. I call that tack fusing. For example, I tack fuse the leaves onto the branches. I’ve learned that it’s hard to have every small bit able to move individually at fusing temperature. It’s too easy to miss that one has moved out of place and correct its position before it is permanent. Better to build small assemblies and then put those together.
what do you use to “tack” components? flux?
Leave a comment