A jewelry retreat seems like the best imaginable vacation option - go somewhere interesting to play with making jewelry while somebody else does all the preparation. In my case, however, that someone else is me.
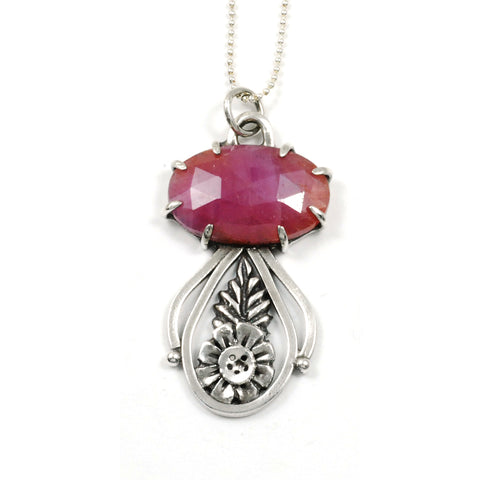
I had the pleasure (and work) of teaching at the inaugural Lone Star Jewelry Retreat, along with fellow instructor Gail Stouffer of Stouffer Studios/KilnFrog and organizer Stacey Campbell of KilnFrog.
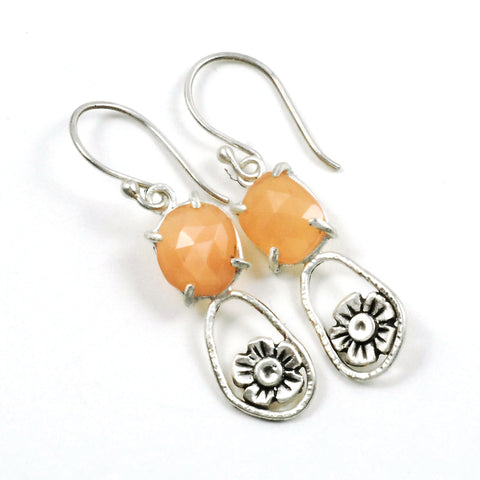
Luckily for me, it was held in my home town of Austin, TX, so I didn't have to travel far. But I did pack my car full of equipment and supplies, since everything for the workshop was included - tools, materials, room, and most meals. Of course, students were encouraged to bring their favorite tools if they liked, but it was totally unnecessary.
That car was indeed chock full of supplies. Luckily, I didn't have a passenger or they would have had to host my luggage on their lap! It felt like I packed everything I owned. I dug out all my student metal clay tool kits, and loaded up my own personal kit, along with a kiln and accessories. Then I packed up the Argentium supplies - from charcoal blocks and flux, pickle pot, hammers and tweezers to flex shafts, JoolTool and magnetic pin polisher. The studios looked bare when I had it all loaded!
I headed north to the Lone Star Court, an adorable retro-Texas hotel and conference center at the Domain in North Austin, about a thirty minute drive for me. We spent the first afternoon lugging tables into position in the meeting room, running plastic sheeting and extension cords, setting up and testing equipment, laying out work stations and distributing metal clay, sheet and wire.
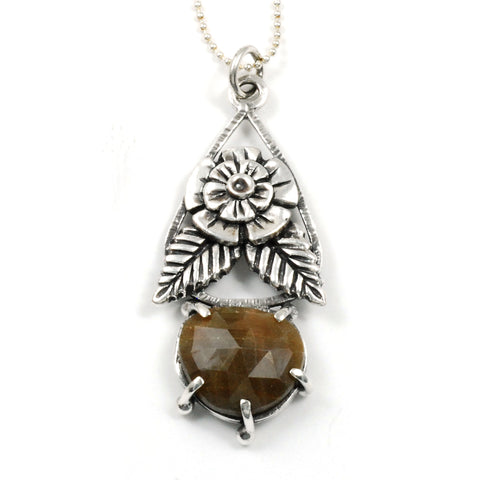
We had just enough time to check into our rooms (retro cool with Smeg refrigerators loaded with TX drinks), get a quick shower and change for dinner. Then we got to meet the students, some of whom were local, but many of whom had traveled from opposite ends of the country. We sat outside, nibbling on Texas appetizers and getting to know everyone. After a few hours, and even more food, we got to collapse into our beds in anticipation of the fun to begin the next morning.
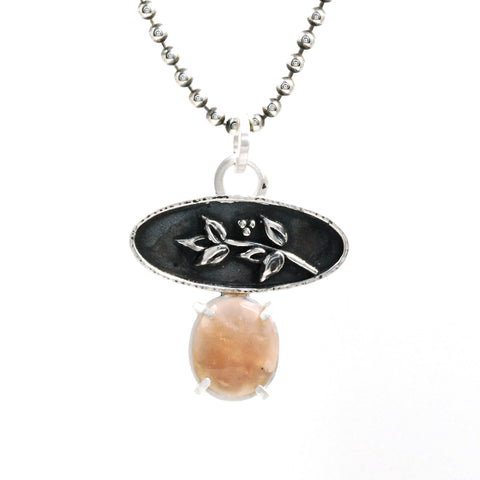
The students were split into two groups: one half in each workshop. My students started working with fine silver metal clay, building small components in my sculptural style. No molds or textures for us! We started from small discs, balls, or snakes of clay to sculpt a range of flowers, leaves, birds and insects. I tried to encourage the students to just work on individual components without worry about the design to come. I find that breaking the work into multiple steps like this relieves fear of not knowing what comes next and allows free experimentation. This is my concept of the jewelry making process: work on multiple steps of the process without getting too invested in any one, and carefully weave them together to make a finished product at the end.
Lunch was catered by the hotel - a salad bar with fajita meats and veggies, fruit, brownies and iced tea - which we again ate at tables on the deck outside our meeting room.
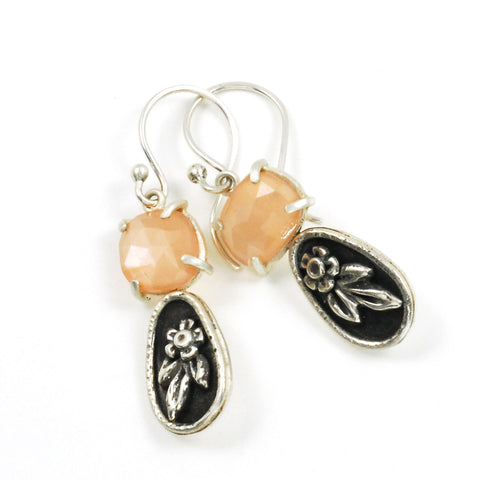
After the break, we returned to the workroom to change gears. Pushing the metal clay supplies to the side, we quickly turned our thinking to Argentium. We covered the quirks of this special material, and then got busy fusing rings of square and round wire, hammer texturing, making jump rings and granules in a variety of sizes, and forming ear wires with beaded ends. Using basic metalsmithing techniques was new for some of the students. Again, our goal was to build basic components, which we would then combine with the metal clay components in a separate step to make jewelry.
For dinner, we were all free to go our separate directions to explore Austin or at least the neighboring shopping and restaurants. Most students chose to return for the optional open studio evening to finish off their metal clay, which I fired at the end of the night.
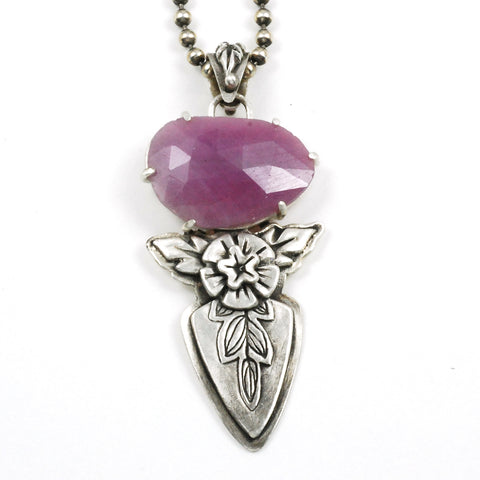
The next morning, we turned to design, discussing many different aspects to consider, as we pulled out our components to see what we could make. We oohed and ached over a huge selection of rose cut flat back stones supplied to us by Rosy on the Rocks, choosing a few to accent our designs (and more to take home were available for purchase). Then we learned to construct prong settings for those stones using fused Argentium. We explored adding metal clay elements to our wire rings, then started building multi-step projects with wire and sheet and metal clay and prong settings. All fusing, no solder for us!
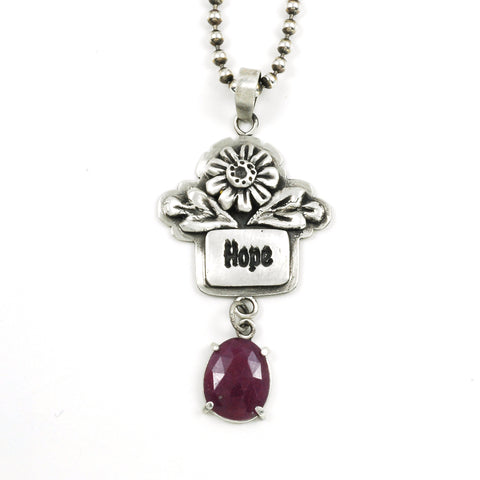
Trimming with shears or saw, sanding and polishing, patina and stone setting filled our afternoon, after another lunch on the deck (this time a sandwich/wrap bar). Most students finished several projects, or at least had them designed and ready to finish at home.
After a celebratory group dinner at a nearby restaurant, I returned to the classroom to set up for the second round the following day, while students retreated with Stacey to make s'mores over a campfire and learn about business promotion via social media.
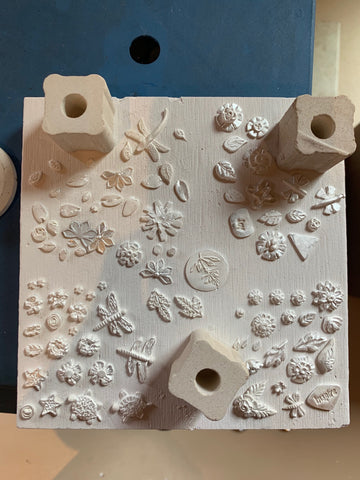
The groups then switched instructors, and the sessions repeated. My first-session students moved to Gail's work area to learn about working with 960 silver clay, making molds from native plants found on a treasure hunt through the hotel grounds, soldering, tube setting faceted stones, and pen plating gold accents.
It was a great combination of techniques, so that students were bound to find something of interest that they can use in their own personal work going forward.
I have to admit that I was exhausted, but happy to get the studio back to normal after a little cleaning.
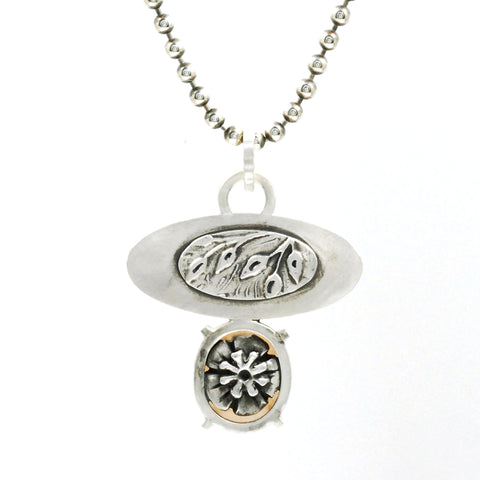
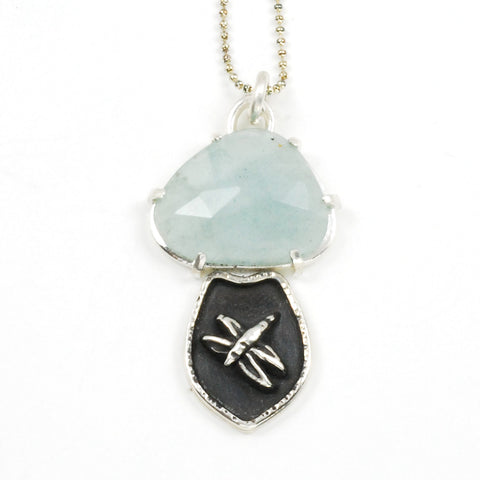
P.S. All the images shown of my own work were samples made before class. Check back soon for updates on pieces I made during the retreat.


Leave a comment