Photography
Photographing Metal Jewelry and Glass Beads
(note: this tutorial is outdated, but still useful)
I'm not a professional photographer, but my routine photography is quick, easy, and acceptable for many of my needs, including blog posts, my website, and jury submissions.
Many of my own photographs have been published, and one even graced the cover of the very first issue of <b><i>Metal Clay Artist Magazine</i></b>.
Here, I'll describe the equipment and process that I use routinely.
Equipment
In developing my photography skills, I have benefited enormously from the assistance of my husband who has been an avid photography and darkroom hobbiest from youth and loves to buy photography toys.
I've also made a large investment in photography equipment, using proceeds from sales of my artwork. While my phone takes decent snapshots, it doesn't compete with the more professional setup described below.
-
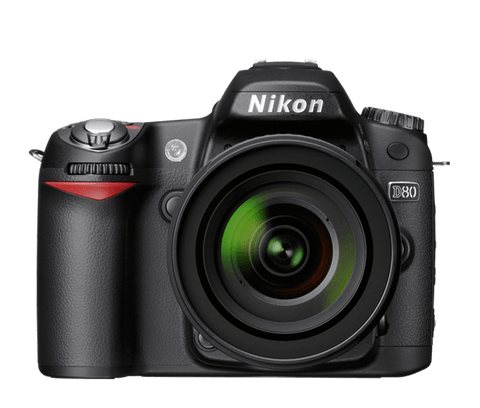
SLR camera body (I use a Nikon D80. discontinued now). When I used to photograph my huge wall quilts, I had a 35mm film Nikon N50 and then a N80, so this digital 80 was an obvious analog for me to use. I run it in full manual mode, and it has lots more bells and whistles than I know how to use, but a few important things that aren't available on the lower end models (at least not when I was buying).
-
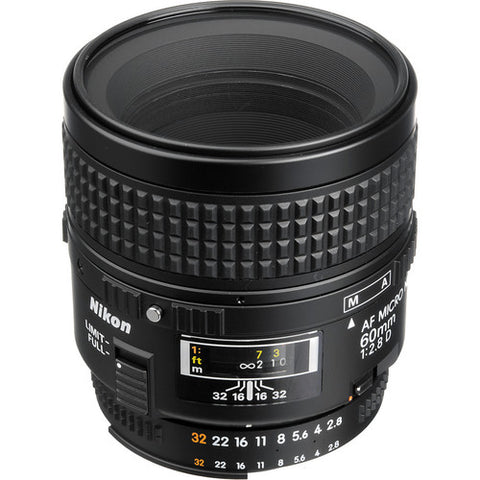
Macro Lens (I use an older NIKKOR 60mm, f/2.8, updated versions available). I've had this since the big quilt days, too, because I needed a lens that could give really crisp, flat images with no distortions. I couldn't get that with the cheap lenses that are often sold with the camera body in a package. I had the experience of projecting slides of 7 foot square quilts and seeing that the edges were out of focus. Then I bought a target poster to look at my lens distortion and sure enough, I had lots of it with the low end lens. This macro lens is incredible; the distortion images were clean; the new ones are probably even better. It can focus close enough to give a life size image, with incredible depth of field, or give a perfectly flat image of a large target at 15 feet. Unfortunately, it's still a pricey lens. It's a big lens, so the combination of big camera with big lens is really only well suited to the studio unless you're a real photography buff willing to haul it all around.
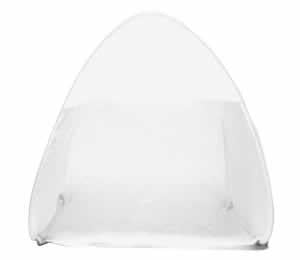
- This white nylon tent diffuses light and controls reflections. When DH came home with the larger model, 30" x 45", I thought it was too big. Now I'm thankful to have it!
- 250W blue daylight bulbs only last 3 hours each, so I've updated to daylight LED bulbs.

- These reflectors and stands date from the quilt days, too. I have four of them to shoot big quilts, but for jewelry and beads I only use a pair. Smaller lights would be an obvious choice for jewelry.
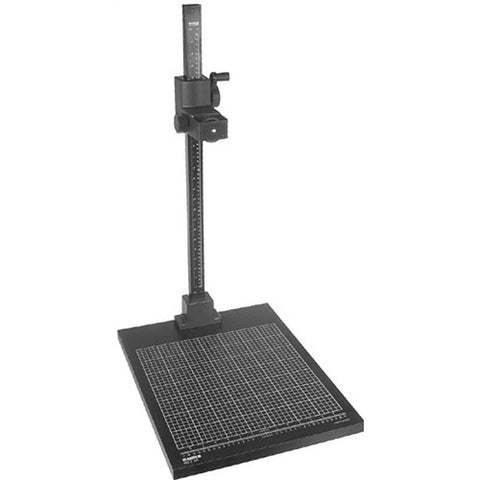
- My copy stand is an old enlarger from DH's dark room days, but it looks similar to this. In essence, it consists of a mount for the camera hanging lens downward to focus on a small table. The camera is movable vertically by means of a rack and pinion hand crank. Smaller, lighter weight copy stands are available inexpensively, if you're using a small camera, but my SLR plus lens is big and heavy so I'm happy to have the converted free solution.
Bells and Whistles
Secret weapon time! Here are some of the goodies that make life much easier with my photography set-up.

First, the larger tent was really necessary when I planted the copystand inside with the lights on either side. You can see the camera hanging lens down at the top of the rack and pinion drive.
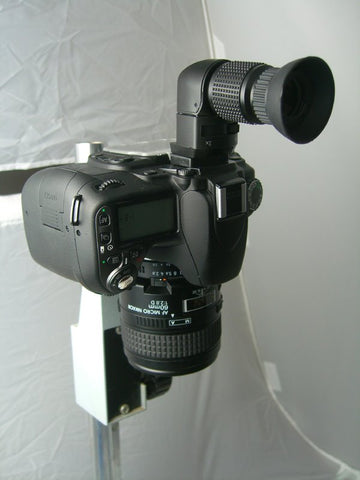
It's impossible to get my head inside there to look down upon the jewelry, so the first secret weapon is a right angle finder, a prism device that turns the viewfinder image so that I can look straight into the camera.
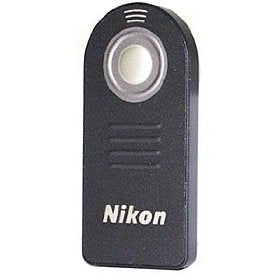
Oftentimes with this set-up I need to use long exposure times, so touching the camera to trigger the shutter isn't a good idea. In the film camera days, I had a cable release for my shutter, but in the electronic age, we use a camera remote control.
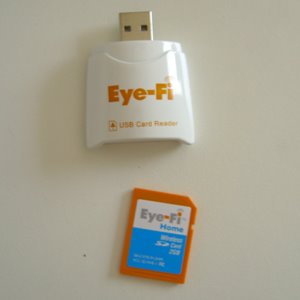
Being a digital camera, the photos are stored on an SD memory card. Getting into the tent to remove the card to take to the computer for download was a pain, so I use a wireless photo and video memory card. (Update: newer versions upload to the cloud.) This accessory comes in two parts: one looks like a regular SD card, the other part is the wireless base that talks to the SD card via Wi-Fi. You plug the base into a USB port on your computer, insert the SD card to configure it, then remove the card and plug it into your camera. Photographs are uploaded automatically as taken. I see a little window pop up on my computer across the room to show that data is arriving.
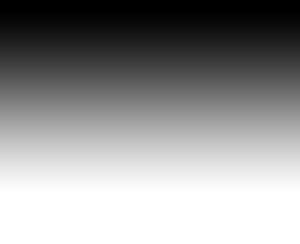
And one final secret weapon: the background. Photography stores sell backgrounds of all types, from huge rolls to small inserts for tents, in a variety of colors and gradations. An easy way to get a perfectly customized background is to make it yourself.
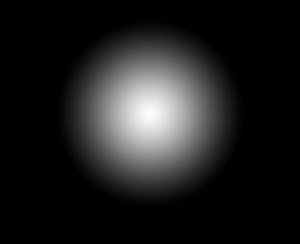
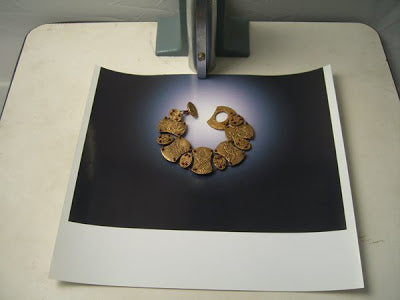
I use the gradient fill tool on Photoshop to make a letter size page background, which is usually perfect for my application. I use both linear and radial backgrounds that I print with my photo printer. When one gets a bit decrepit, I just print another. The radial background give the illusion of a nice spotlight just where I want it.
Getting the Image
First, I run my camera in full manual mode, not using one of the preprogrammed modes that are so easy. I need to be able to control both aperture and exposure simultaneously.
Aperture
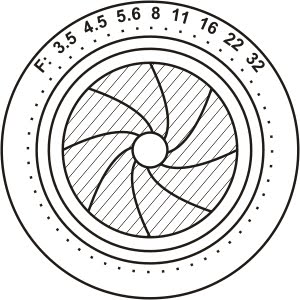
Aperture size controls the depth of field, which for jewelry is really critical. Depth of field means the physical depth of the target that is all in focus at the same time. I don't want the front of my ring to be sharp, but the back to be a total blur; I want to see the entire thing! Physically, the aperture is an iris diaphragm that closes down to restrict the light entering the camera and improve the focus. It is a function of both the camera and the lens being used and is marked in "f-stops" or "f-numbers", beginning at perhaps f/1.8 and increasing to f/16 or so for a standard lens. For jewelry, I recommend AT LEAST an aperture of f/16. One of the advantages of my nice macro lens is that it has higher f-stops, from f/2.8 to f/32 which give it higher depth of field to get more foreground and background simultaneously in focus.
Exposure
Of course, when that aperture is closed down to make a better focus, less light gets into the camera, affecting the necessary exposure time. The times may get longer than a human can easily hand hold (I can't hold beyond 1/8 sec, for example), so that's why the camera is supported by a tripod or a copy stand. The way to determine the necessary exposure time is to use a light meter, either the one on the camera or a separate instrument. I typically use my camera meter as a first approximation.
ISO
Another factor affecting exposure time is the ISO equivalent. In the days of film, this number related to the size of particles in the film you purchased, and it determined how fine the detail on the negative was. A higher ISO allowed you to take photos in low light. The ISO has no real meaning for digital cameras. The equivalent measure is really where noise issues in the electronics inside the camera come into play. My camera has no real noise issues up to equivalent ISO 1250 or so, so I use an arbitrary ISO of 640 just to make the exposure times relatively low. It seems better to not need to take really low exposures -- less possibility that I bump the table, etc.
Procedure
Here's the procedure I use to take standard photos:
- Use the largest photo format. I can always down-size the photo in Photoshop later, but I can't ever make it bigger. I use a normal JPG format, but RAW would actually be even better. I just avoid another conversion in Photoshop, which I might be willing to make if a publisher required it. I set the ISO to 640.
- Place the background on the copystand, then arrange the jewelry so the view through the right angle finder and camera is to taste. I may need to raise or lower the camera to get everything to fill the frame nicely. If I need an angled shot, I'd put the camera on a tripod in front of the photo tent.
- Set the aperature to f/32 (or f/16).
- Turn on the two photoflood lamps. I only have these on when I'm truly using them, since they burn out fast.
-
Focus on the desired area of the target. This may be easier to do in manual mode rather than automatically.
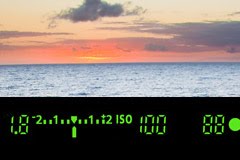
- Use the camera meter to set the first exposure. Preferably use a spot meter option, so that you can choose exactly where you want to meter. Looking through the viewfinder, I see a meter at the bottom, with 0 in the middle, and numbers to either side. I adjust the exposure time on my camera until the meter reads zero. Note that when I'm viewing through the right-angle prism, I can't see that meter. I have to contort myself inside the tent or use a mirror to see the LCD display. Fortunately, this setting really doesn't change a huge amount among different shots since it depends on the lighting setup which won't change. Once I get it close, I'll only be changing it slightly as needed.
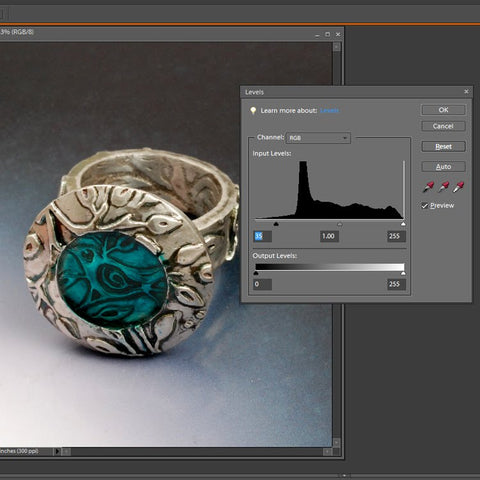
- Take a photo and check it. Since my photos upload automatically with the Eye-Fi card, I open them in Photoshop and check the focus and exposure. The focus will be obvious. The exposure will too, to some extent, but you can also look at Levels under Adjust Lighting to get a more quantitative feel. Ideally, the levels will range from 0 to 255. If the Levels are all low, the photo is too dark and the exposure needs to be longer. If the Levels are all high, the photo is washed out and the exposure needs to be shorter.
That's it! Sounds simple, right!? Of course, there are always issues. Perhaps I want to shoot that ring from a side angle instead of straight down. In that case, I set up a tripod at an angle. Reflections are always big issues for metal and glass. Watch for those in the viewfinder. The tent will help a lot with this, but even so, sometimes I need to use white cardstock to block off reflections, from the copy stand post usually.

